Configuration Walkthrough
Navigate to Stores → Configuration in Magento Admin and follow these steps:
Enable the Module
To start utilizing the AI Email Designer, navigate to Stores → Configuration → EWB E-Commerce → AI Email Designer. In the General Settings section, toggle the Enable Module setting. This enables the module’s functionalities in your Magento store. Remember to save configurations by clicking the Save Config button after making changes.
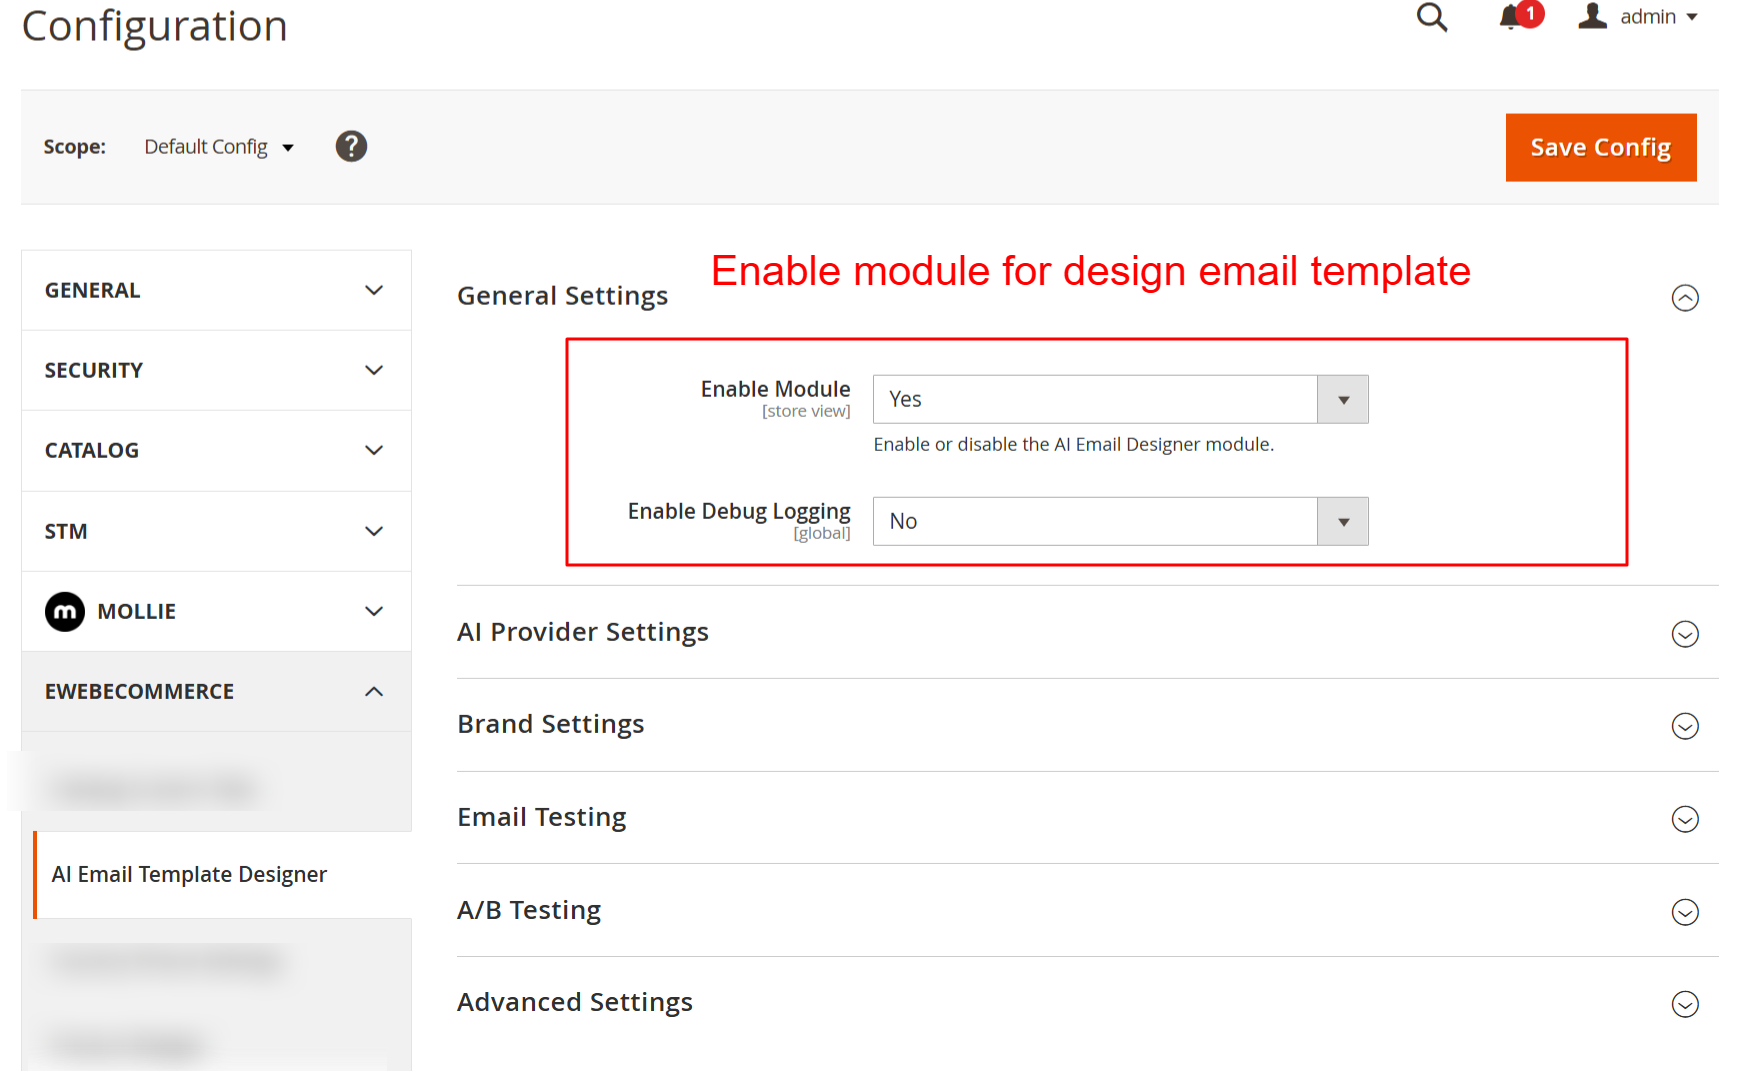
Here, you enable or disable the AI Email Designer module, a necessary step to activate the plugin’s functionalities in your store. You can also toggle debug logging for troubleshooting purposes.
Configure Provider Settings
Under the AI Provider Settings, choose your preferred AI provider from Anthropic, OpenAI, or Google. Enter the associated API key (keep it secure). Select the model you’d like to utilize, adjusting settings such as Max Tokens and Temperature to fine-tune how AI formulates the template designs.
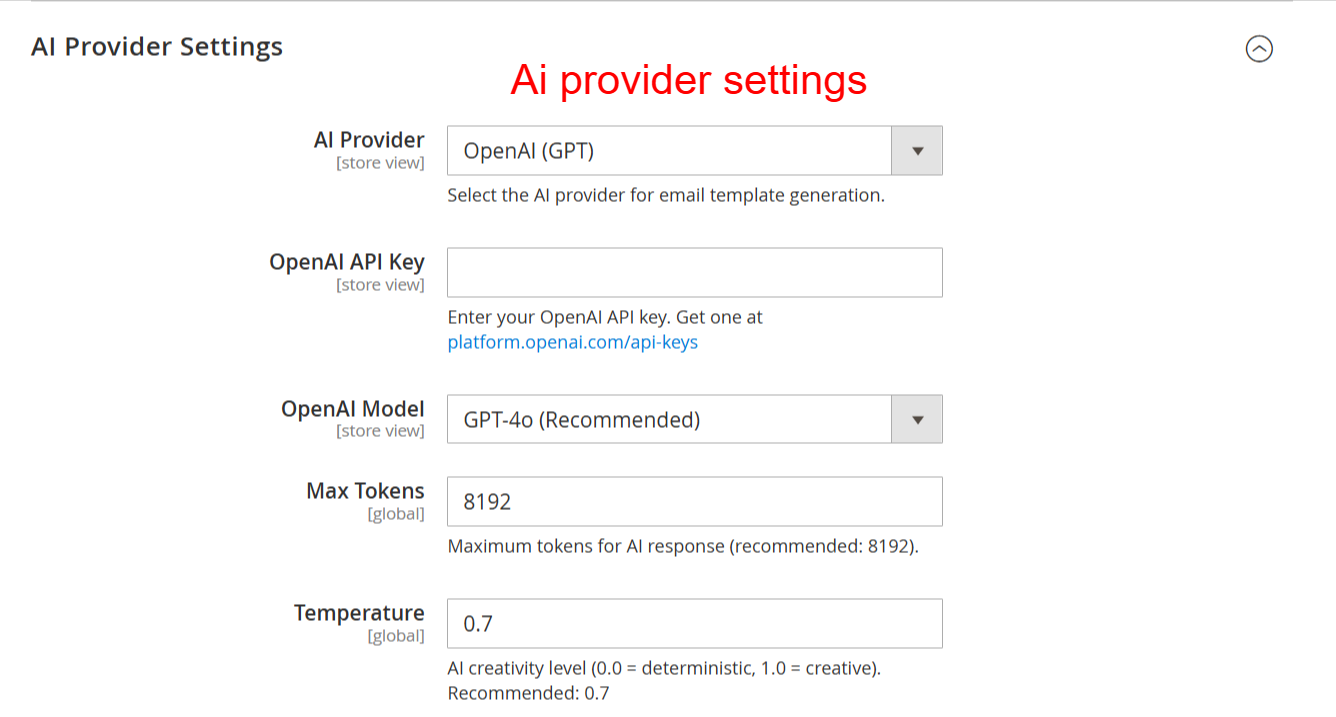
Configure your AI provider settings to connect the email designer with the chosen AI model. Enter your API key and customize model parameters like tokens and temperature to optimize email generation outputs.
Set Up Brand and Social Media
Customize branding aspects by specifying Primary and Secondary Brand Colors, and uploading your Brand Logo. Enable automatic brand detection if desired. Enter URLs for various social media platforms to enhance integration within email templates.
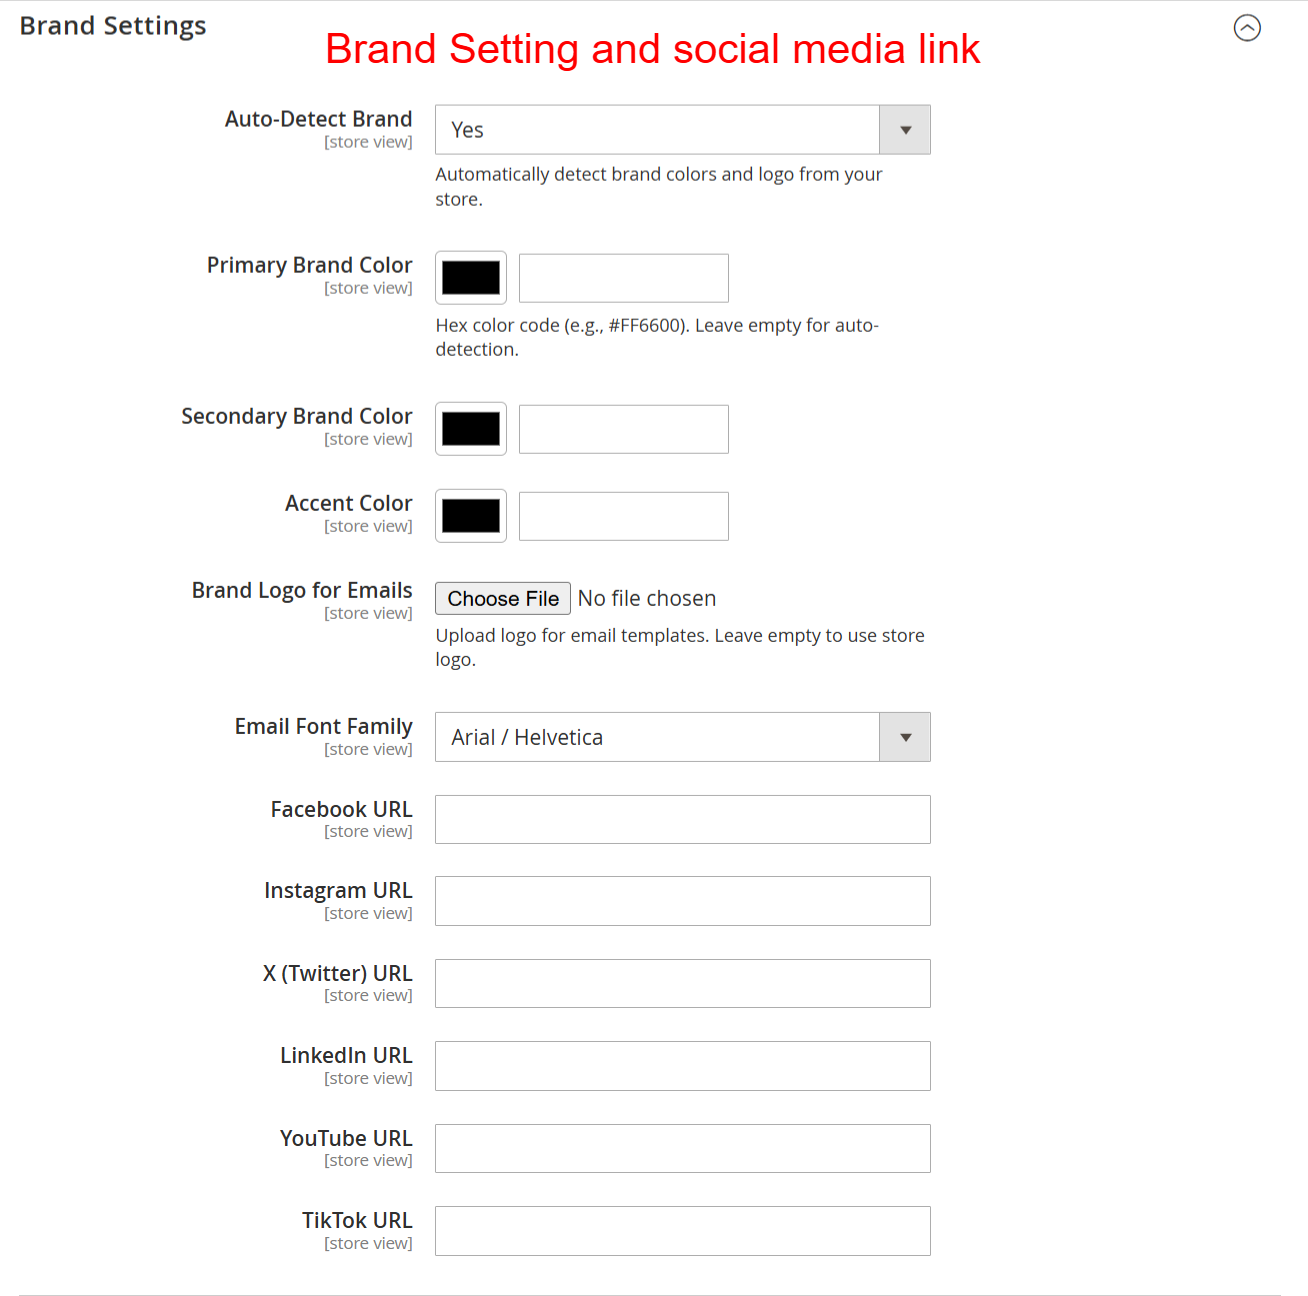
Set up your brand identity by specifying colors, fonts, and logos to ensure emails are consistently branded. Provide social media links to enhance connectivity and engagement through your email communications.
Implement A/B Testing
Navigate to the A/B Testing settings to activate and configure your email variants. Define the Default Number of Variants that AI should produce and set a Test Duration for determining the most effective email version. Use the Auto-Select Winner feature to streamline optimization.
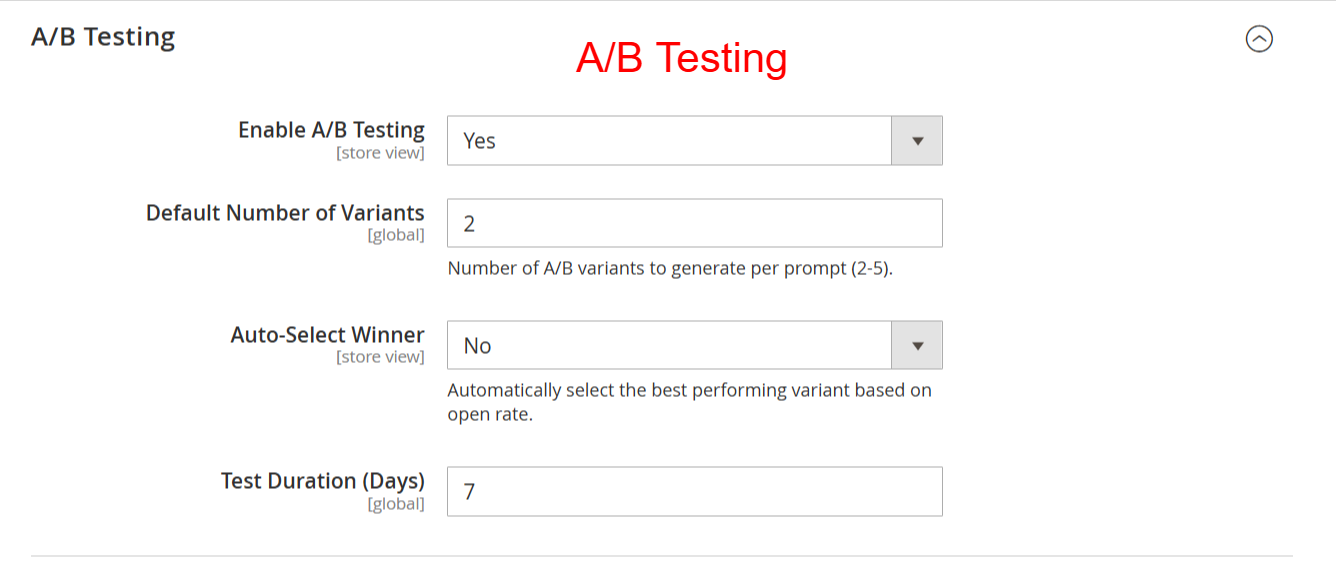
Enable A/B testing to compare different email variants. Control the number of variants and set testing parameters to automatically select the best-performing email, thereby optimizing email engagement and effectiveness.
Enhance With Advanced Settings
To refine the email output, use Advanced Settings for inserting Custom CSS and HTML into templates. Enabling Auto Inline CSS further ensures emails are displayed correctly across different clients, bolstering compatibility.
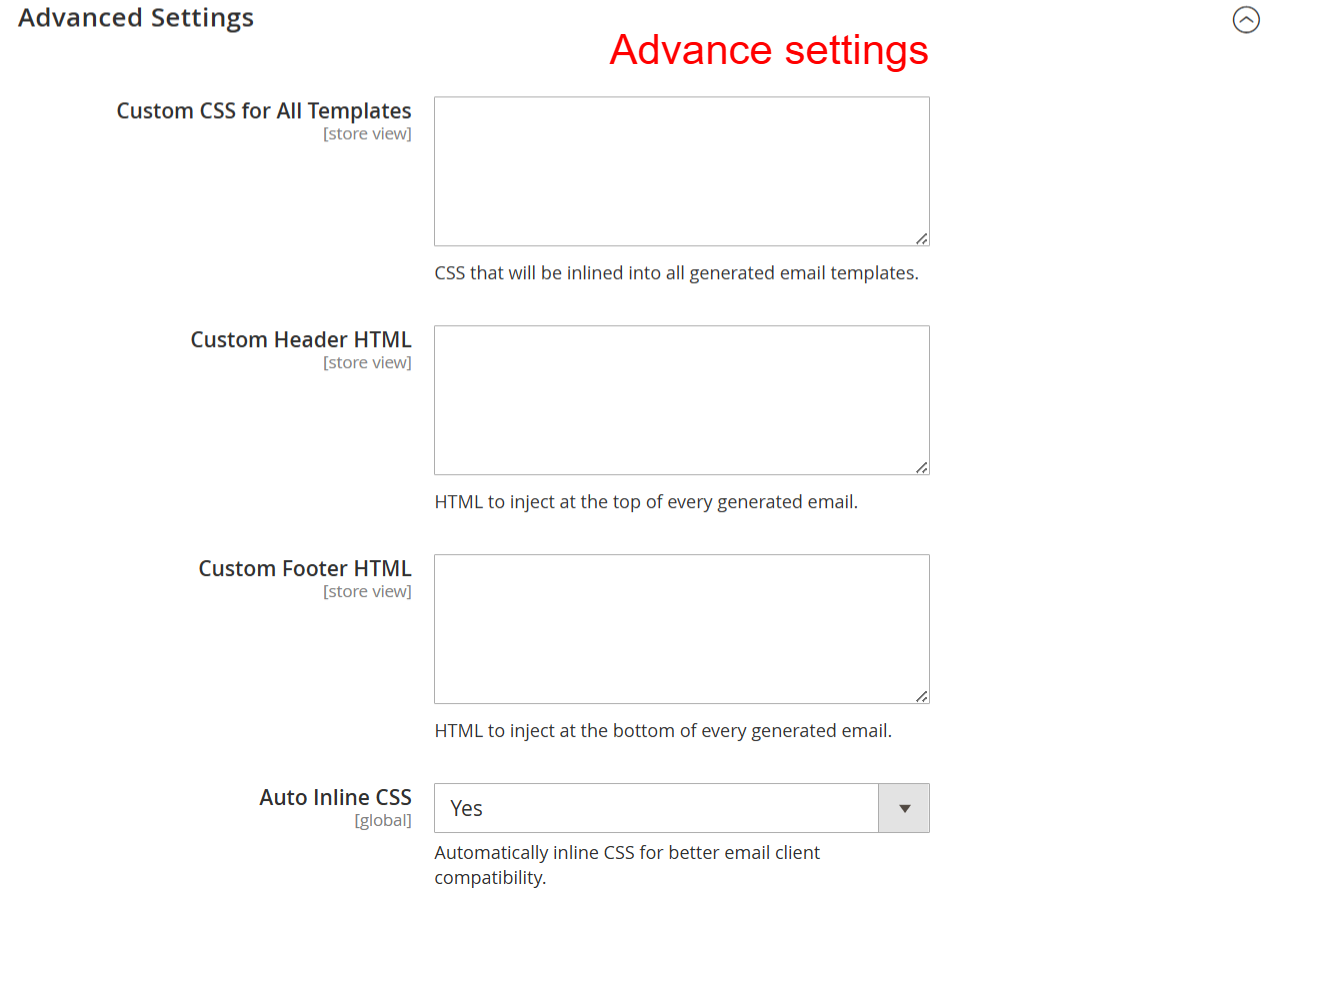
Here you can enhance email designs by applying custom CSS and HTML to templates. Manage inline CSS for better compatibility across email clients, refining overall presentation and consistency.
Manage Email Templates
Utilize the ‘Manage Email Templates’ section in the admin to view and control all existing templates. Create new emails using the Builder, or choose from the available pre-built options tailored to different occurrences.
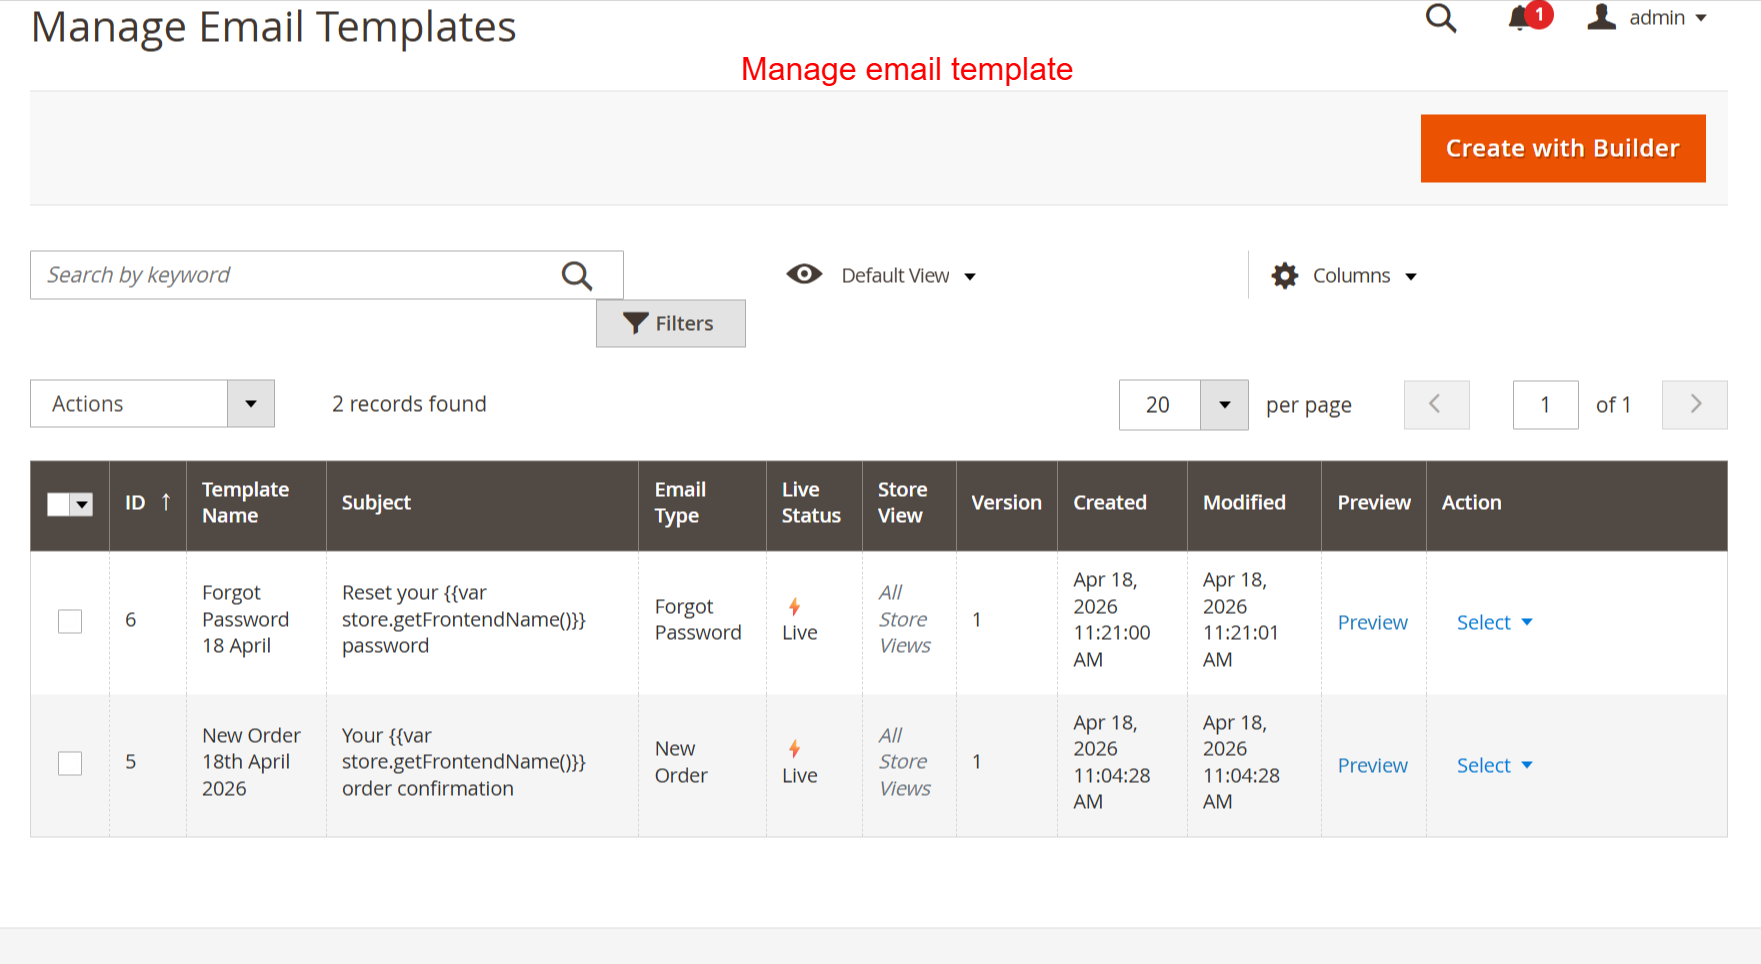
In this view, manage your email templates, review details, or create new ones using the builder tool. It’s essential for organizing and maintaining control over active email campaigns to ensure strategic communication output.