Configuration Walkthrough
Navigate to Stores → Configuration in Magento Admin and follow these steps:
Enable the Module
Navigate to Stores > Configuration > Ewebecommerce > PDF Customiser > General Settings. Set Enable PDF Customiser to Yes to activate the module and unlock its features for comprehensive PDF customization.
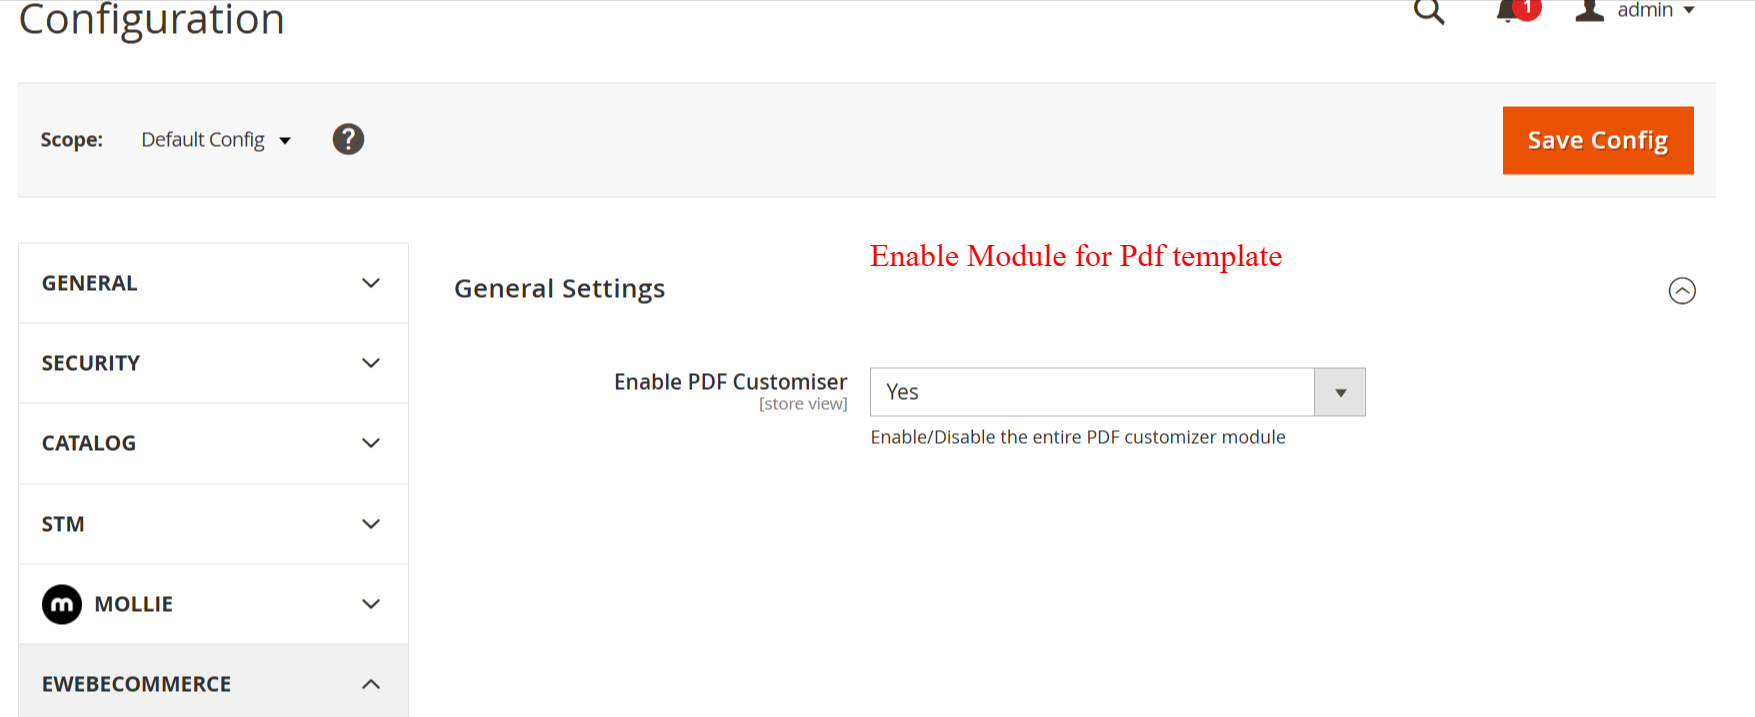
In this section, administrators can enable or disable the Ewebecommerce_PdfCustomiser module. Activating this module allows users to access all PDF customization features, making it essential for users who want to utilize the full capabilities of PDF customization.
Configure PDF Settings
Visit Marketing > PDF Customiser > PDF Templates > Configuration. Set the Default PDF Template for each Document Type to align your invoices, orders, and other documents with branded designs. Adjust background, text, and element settings according to your needs.
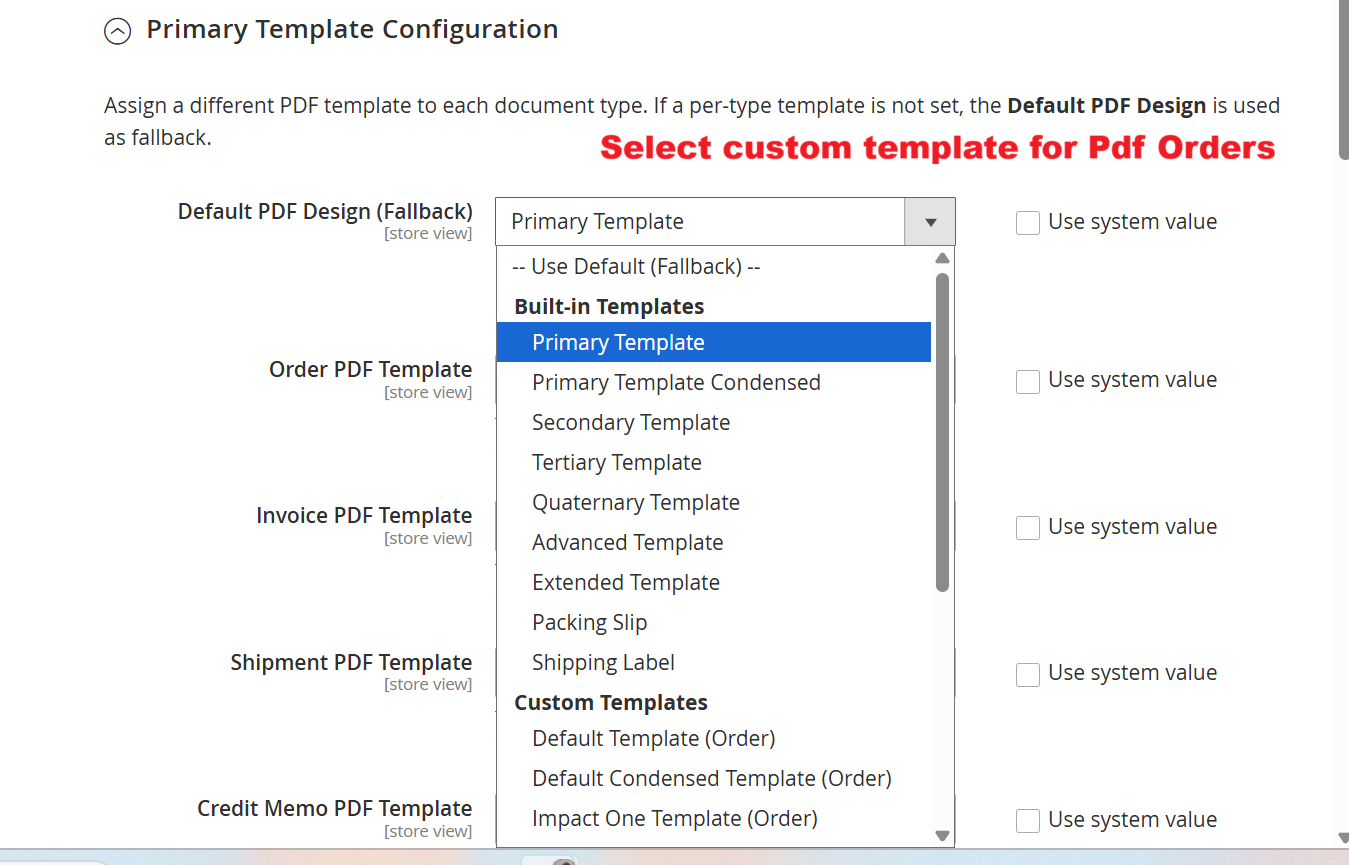
This setting screen allows admins to select default templates for different document types via a dropdown menu. It’s crucial for ensuring consistent branding and format across PDFs generated through the Ewebecommerce_PdfCustomiser, supporting streamlined document management.
Customize Template Colors and Backgrounds
Under Stores > Configuration > PDF Print-outs, use Primary Template Configuration to manage template colors and background settings. Customize primary and secondary colors and upload specific background images to brand documents distinctly.

This page allows administrators to upload custom background images for each type of document. Users can choose to use global settings or specific images for documents like invoices and orders, ensuring a professional and branded appearance of PDFs.
Set Up PDF Email Attachments
Go to Stores > Configuration > Sales Emails to set up PDF attachments for emails. Enable Email Attachment for invoices, orders, etc., and configure email templates to automatically send PDFs alongside transactional emails.
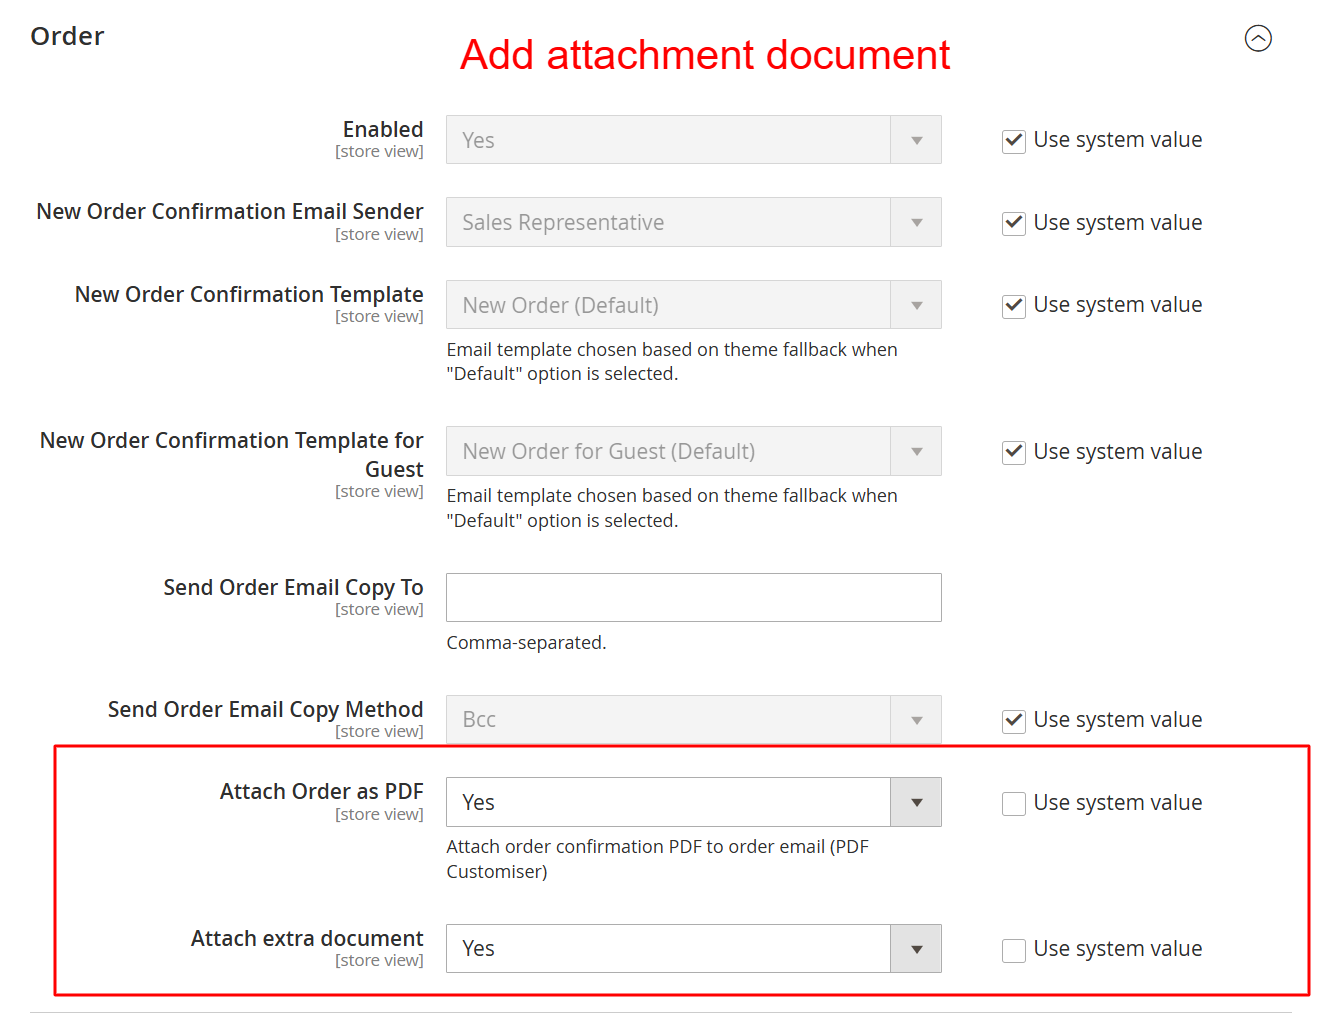
On this screen, an admin can configure order email settings, including which templates to use and who the sender should be. Importantly, they can choose to attach order confirmation PDFs and additional documents to the emails, enhancing the email’s informativeness.
Adjust Layout and Page Settings
In Stores > Configuration > PDF Template Page Settings, define page sizes, margins, orientations, and footers for documents. These settings ensure that the layout fits both print and visual guidelines, enhancing readability and presentation.
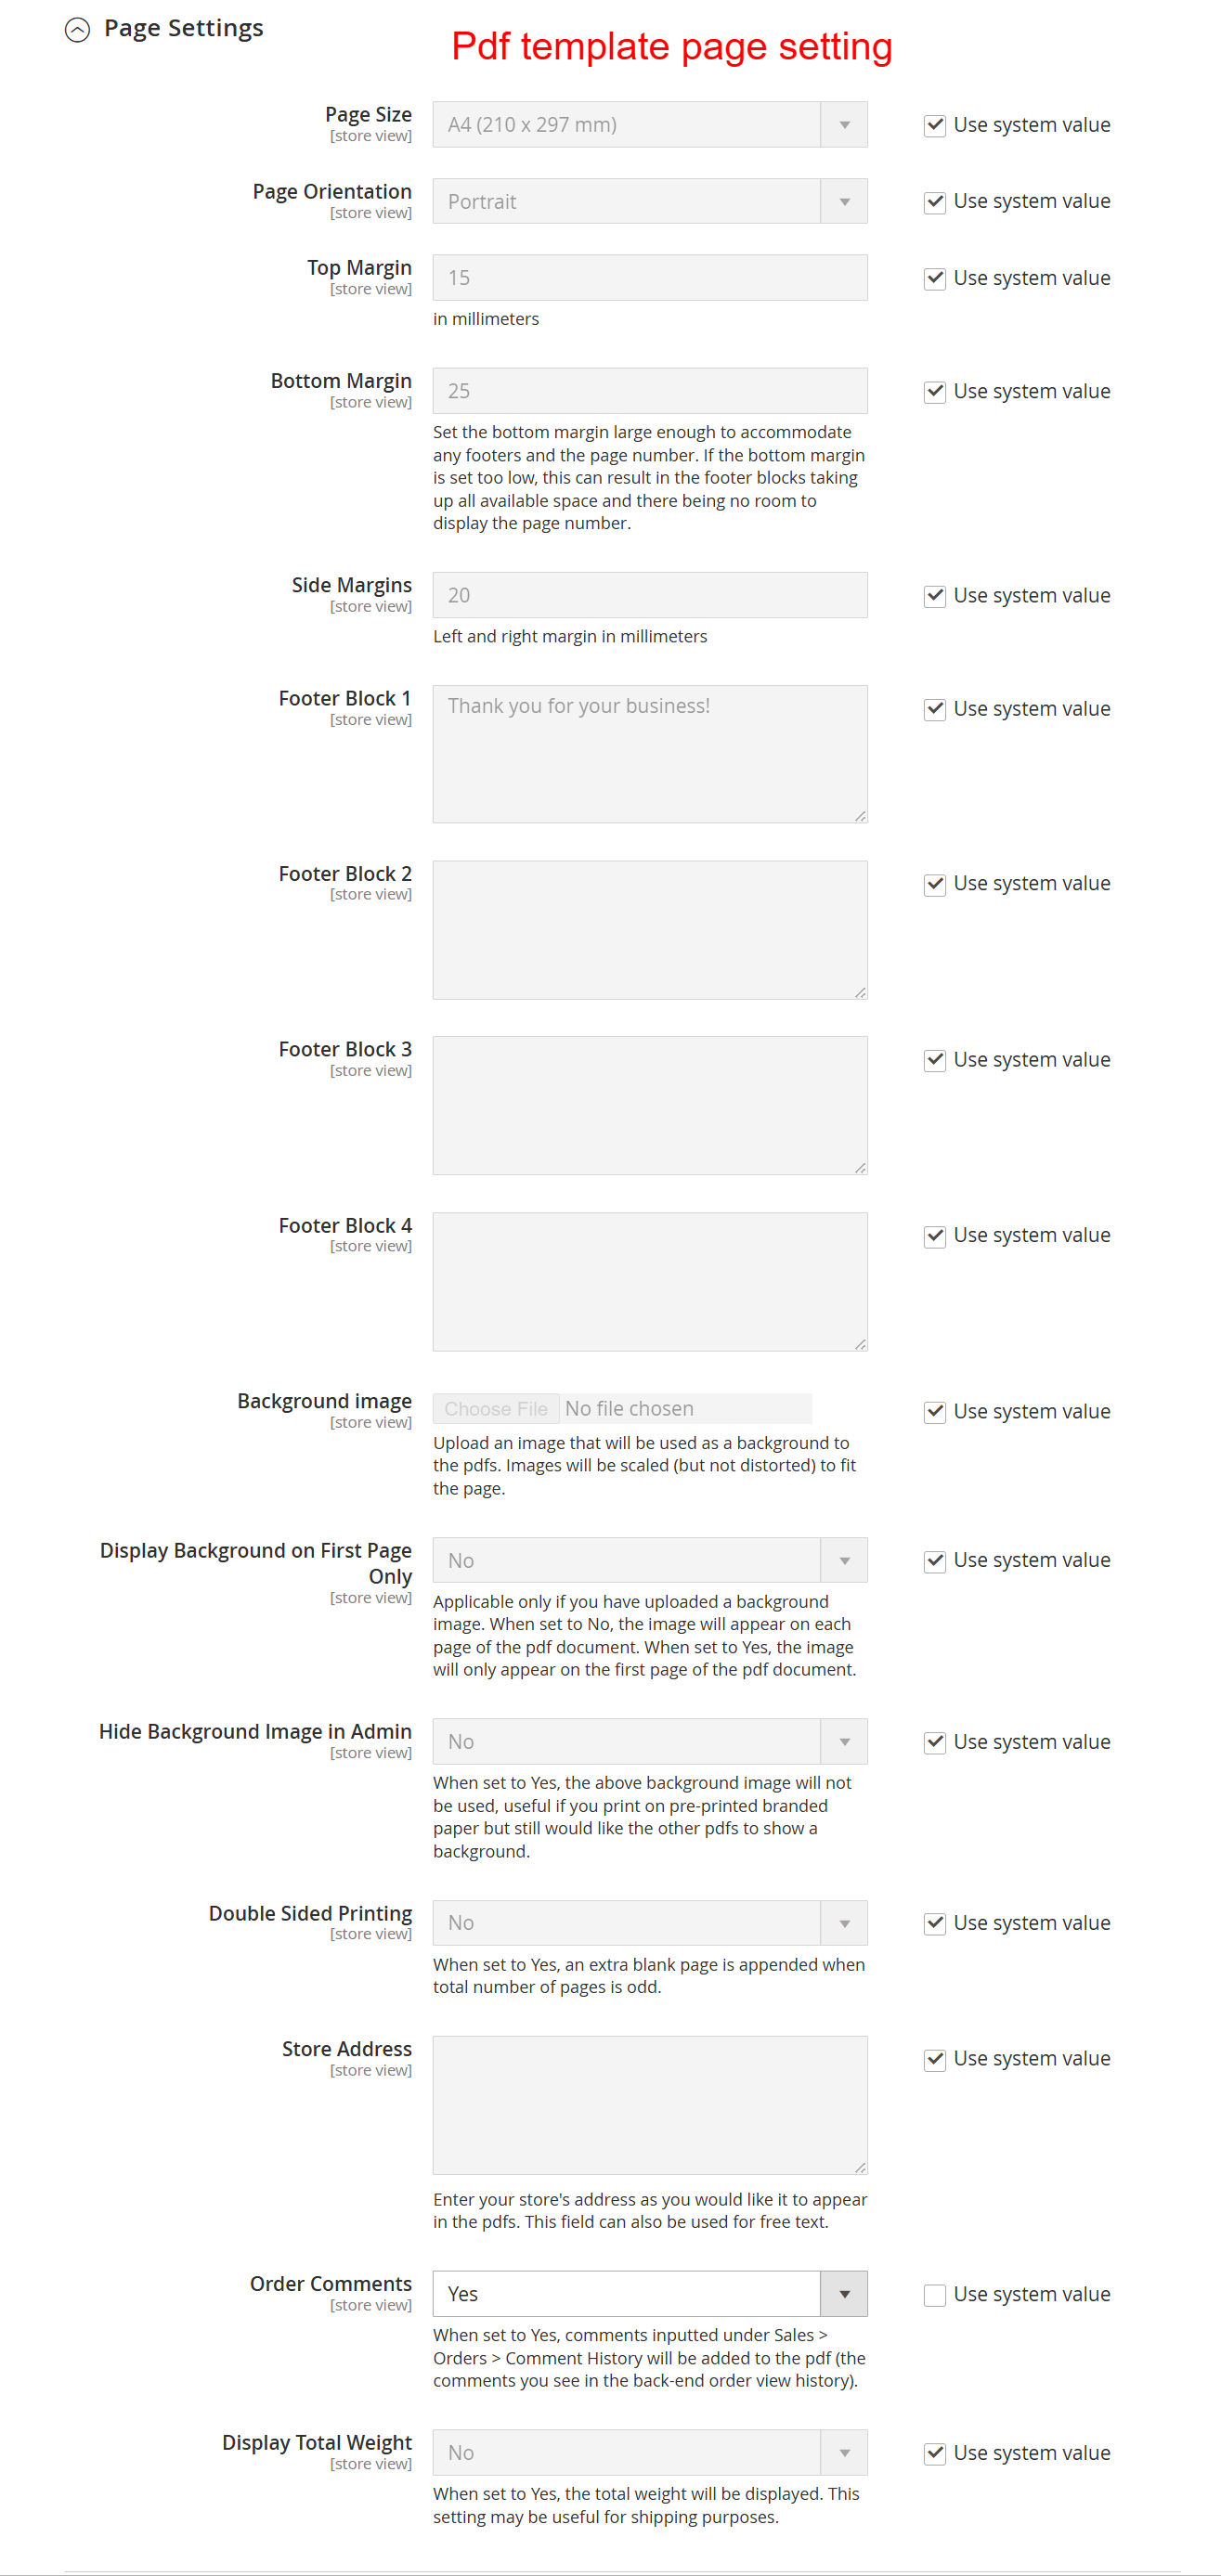
On this page, users can fine-tune the presentation of PDF documents by setting page size, orientation, and margins. Users can also add custom footer content and configure background image usage, thus tailoring each PDF document to meet specific design and informational needs.
Integrate Barcodes and QR Codes
For adding barcodes, visit Stores > Configuration > Barcode Settings. Configure barcode types, attributes, and appearance to extend the utility and automation of your documents through enhanced scannability.

The Barcode Settings page lets users specify barcode details, ensuring accurate and efficient scanning for inventory and order management. Proper configuration here can enhance operational efficiency and data accuracy within the business process.