Step-by-Step Screenshot Reference
Every captured screen in setup order. Click any image to open the full-size version in a new tab.
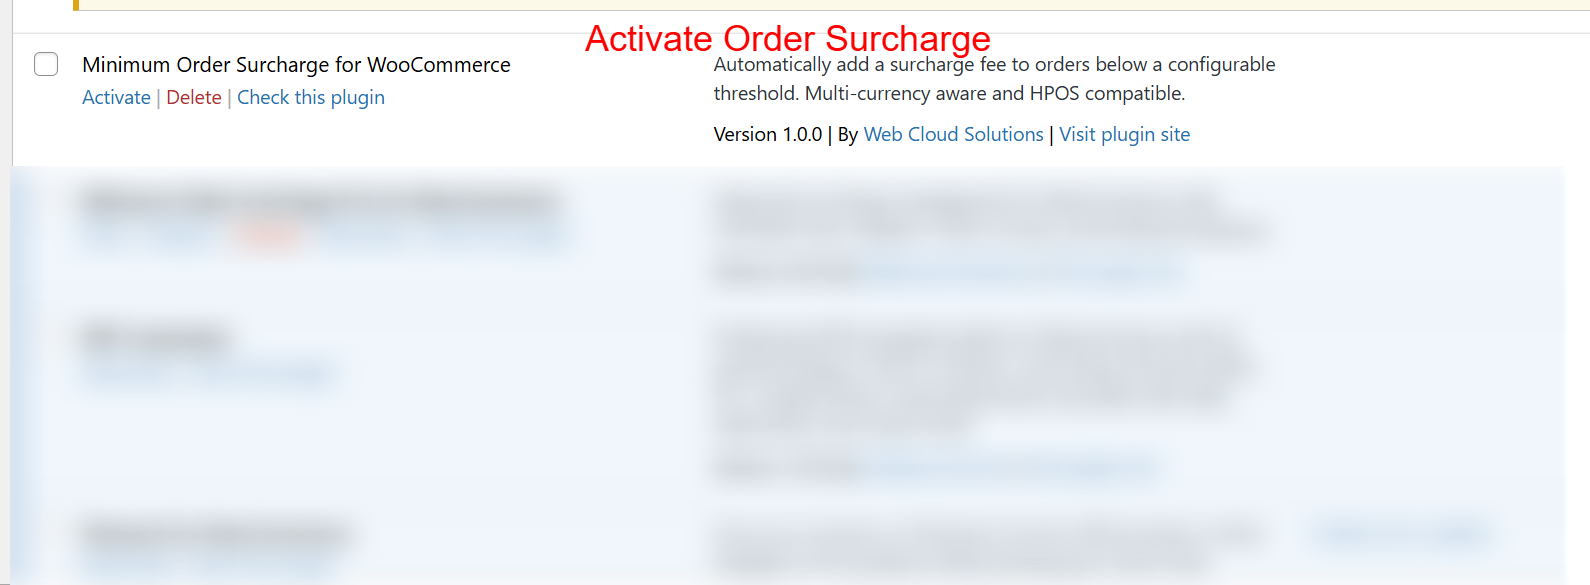
wp-admin: Plugin List > Activate Surcharge
What this shows: This screen displays the plugin listing with options to Activate, Delete, or Check the Minimum Order Surcharge for WooCommerce plugin.
To begin using the Minimum Order Surcharge plugin, navigate to your WordPress admin area and locate the plugin in the list. Click ‘Activate’ to enable the functionality. Activating the plugin is crucial as it allows store owners to automatically apply surcharges to orders that do not meet the predefined minimum order threshold.
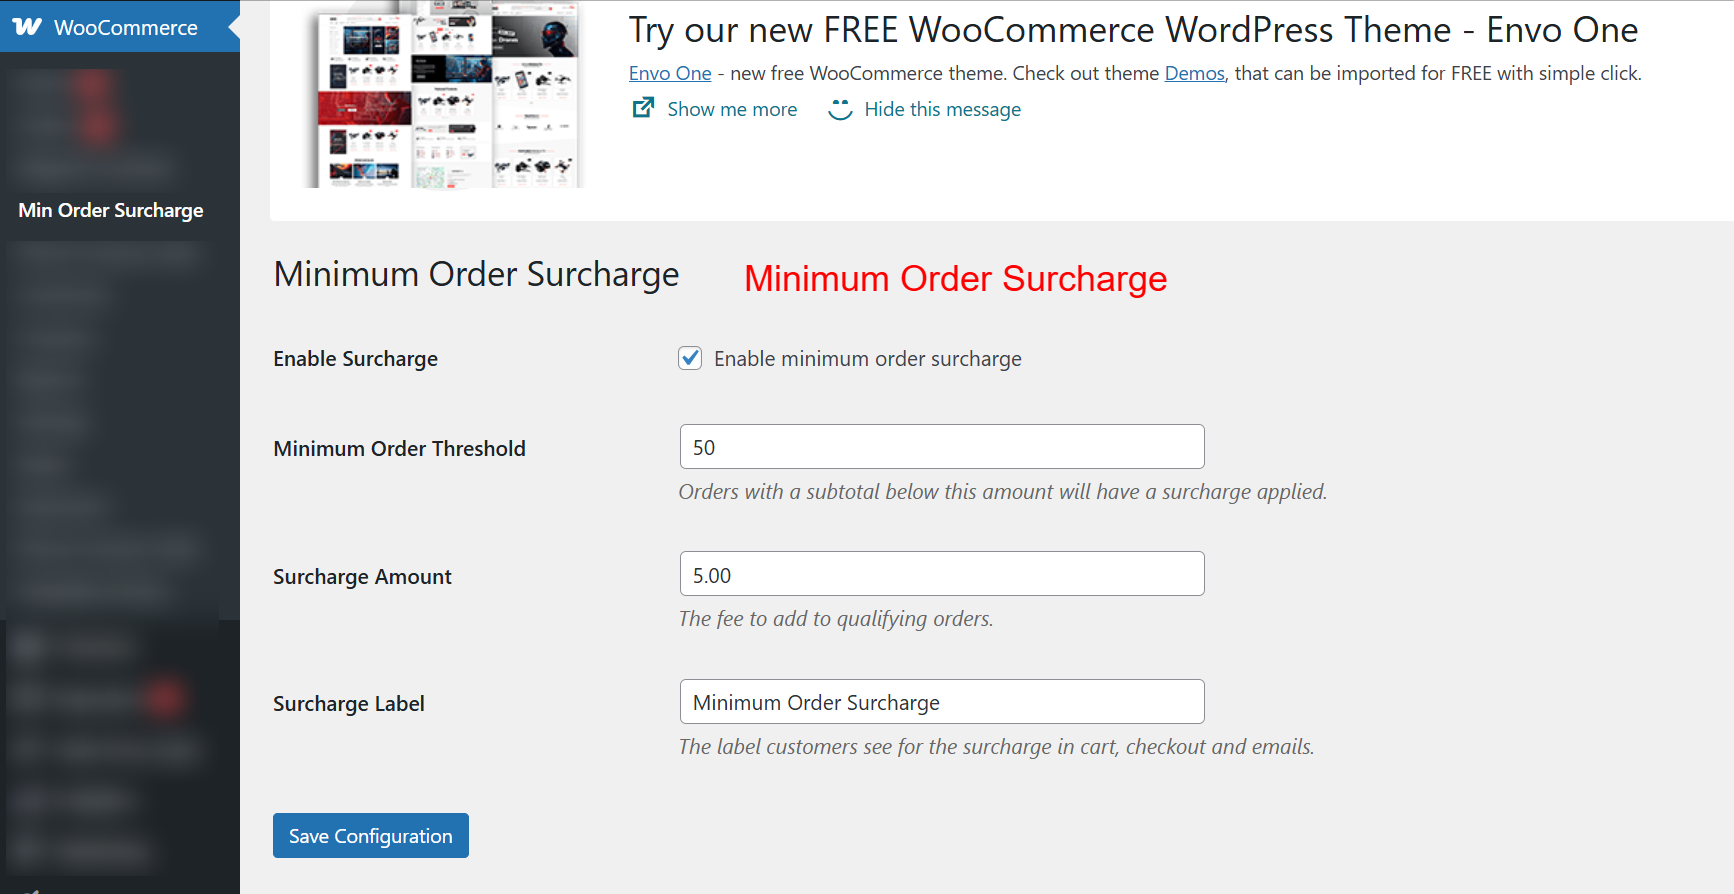
wp-admin: WooCommerce > Min Order Surcharge Settings
What this shows: The settings page includes options to enable the surcharge, set the minimum order threshold, define the surcharge amount, and label the surcharge.
Once the plugin is activated, configure its settings to suit your store’s needs. Enable the surcharge by checking the respective box, and set the minimum order threshold. Orders under this threshold will incur a surcharge, defined in the Surcharge Amount field. Customize the label to ensure clarity for customers during checkout.
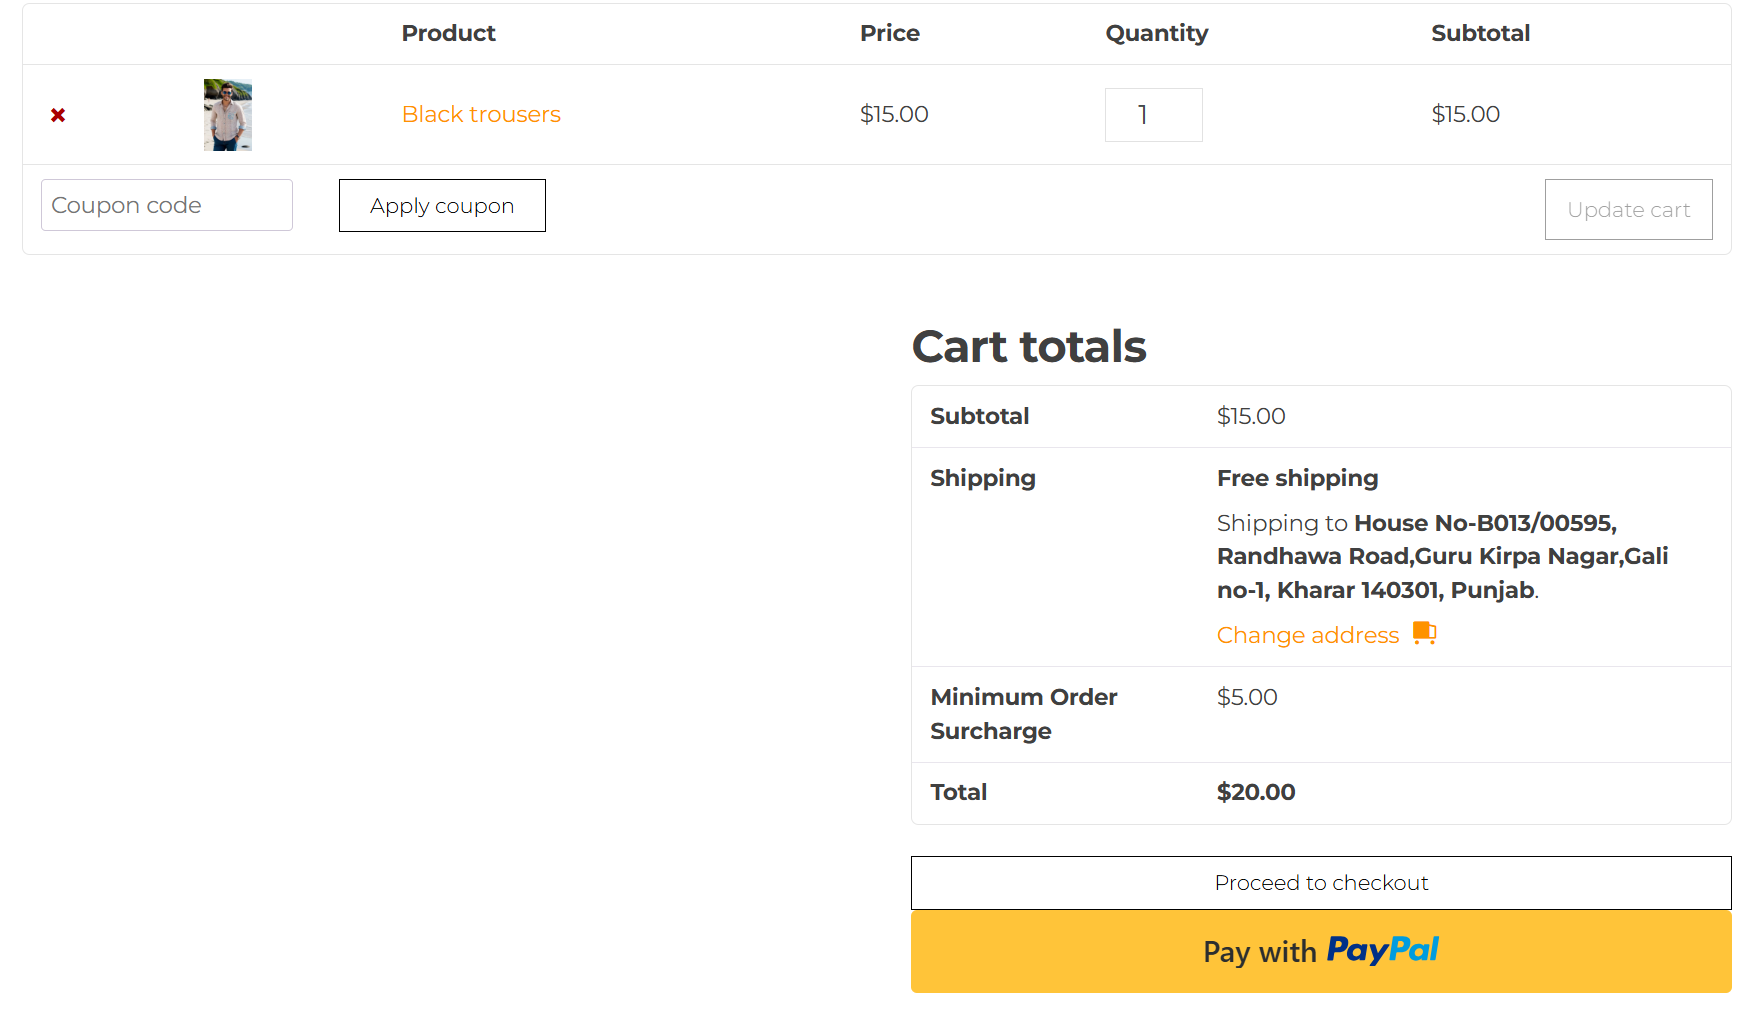
Cart Page: Minimum Order Surcharge Applied
What this shows: The shopping cart view shows the product list and displays the calculated surcharge under ‘Cart totals’, alongside subtotal, shipping, and total.
Customers can see the surcharge applied directly in their cart totals. This transparency helps customers understand why an additional fee is being applied, as orders valued below the threshold are clearly marked with a surcharge.
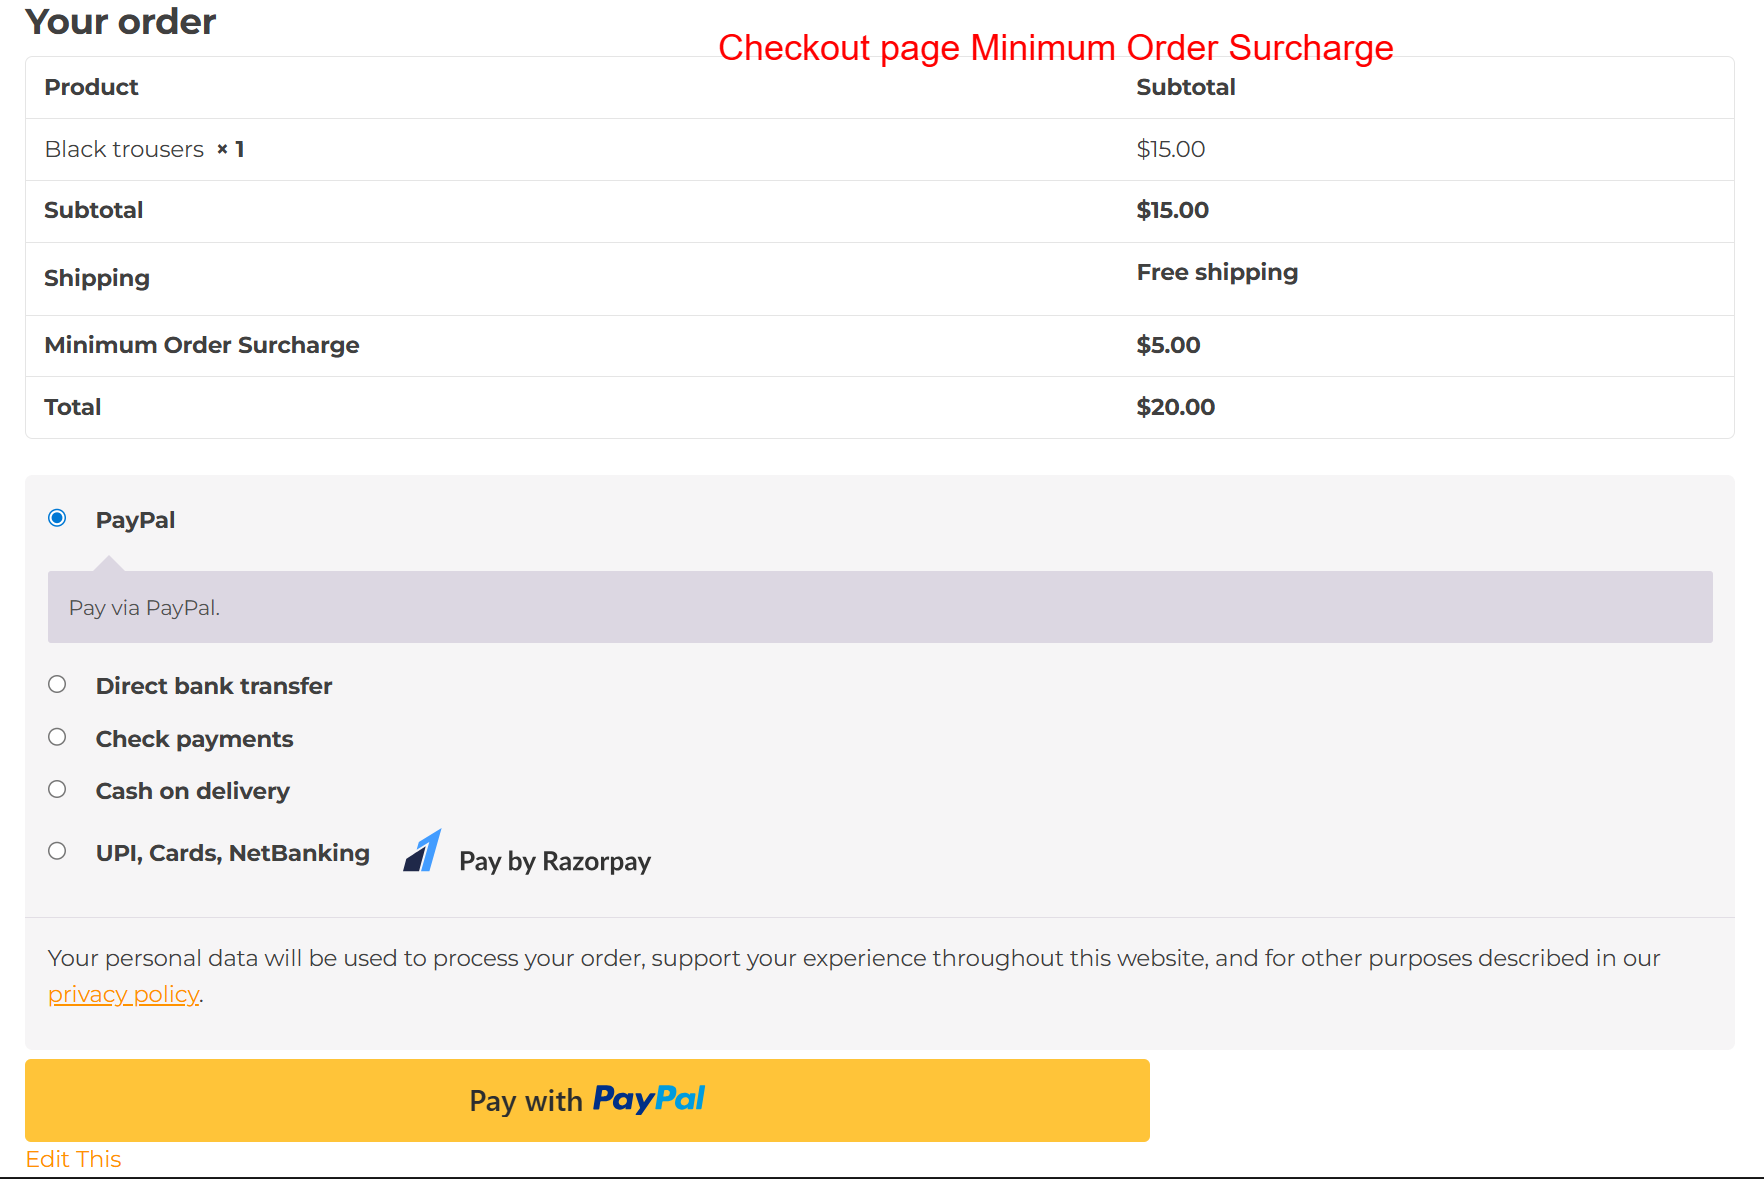
Checkout Page: Review Order with Surcharge
What this shows: This checkout screen presents the order summary, highlighting the surcharge under order totals, alongside shipping and other fees.
During checkout, customers review their order details, including the minimum order surcharge. This screen is important to ensure customers acknowledge all components of their payment, maintaining transparency and reducing potential disputes over additional charges.
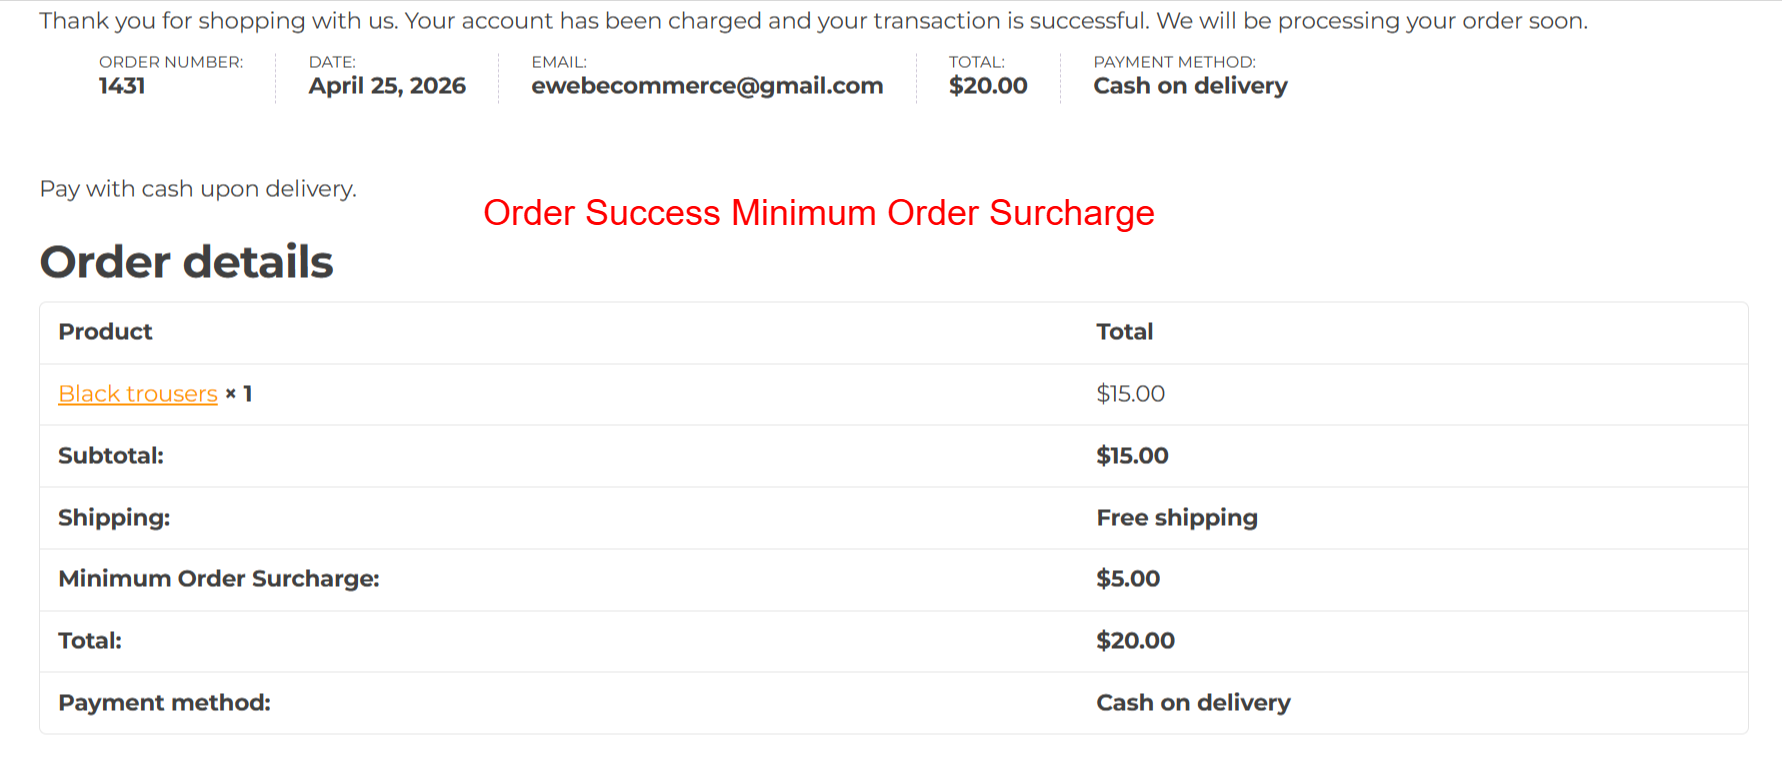
Order Success: Summary with Surcharge
What this shows: Displays a confirmation message with order details, including the surcharge, total amount, and payment method.
After successfully placing an order, customers receive a summary confirming details like the surcharge, helping to verify that all components of the transaction are correct. This reinforces trust and ensures customers understand the breakdown of their total cost.
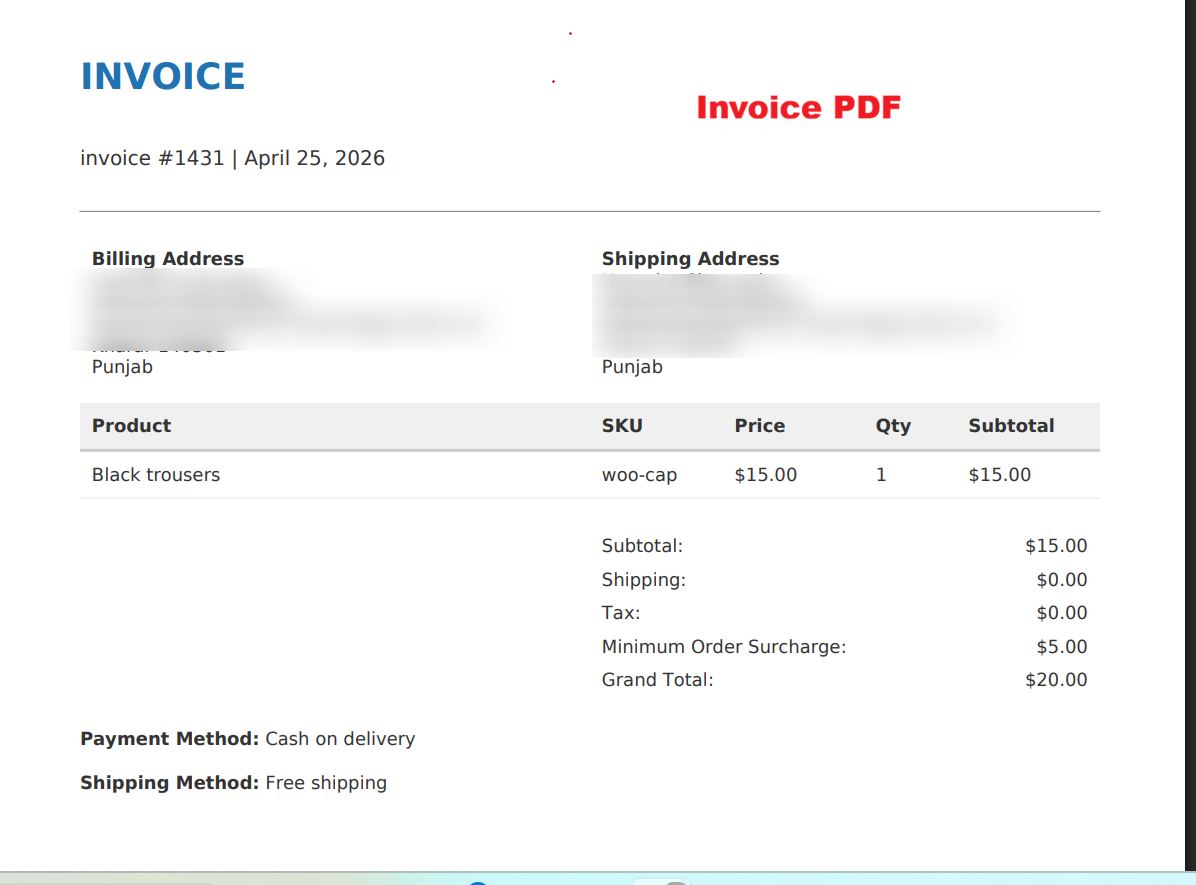
Invoice PDF: Detailed Order Information
What this shows: An invoice PDF showing billing and shipping addresses, product details, and surcharges, along with total and payment methods.
Invoices offer a formal record that includes all aspects of the order, such as the minimum order surcharge. This document is essential for both customer records and store accounting, providing a transparent trail of the transaction.
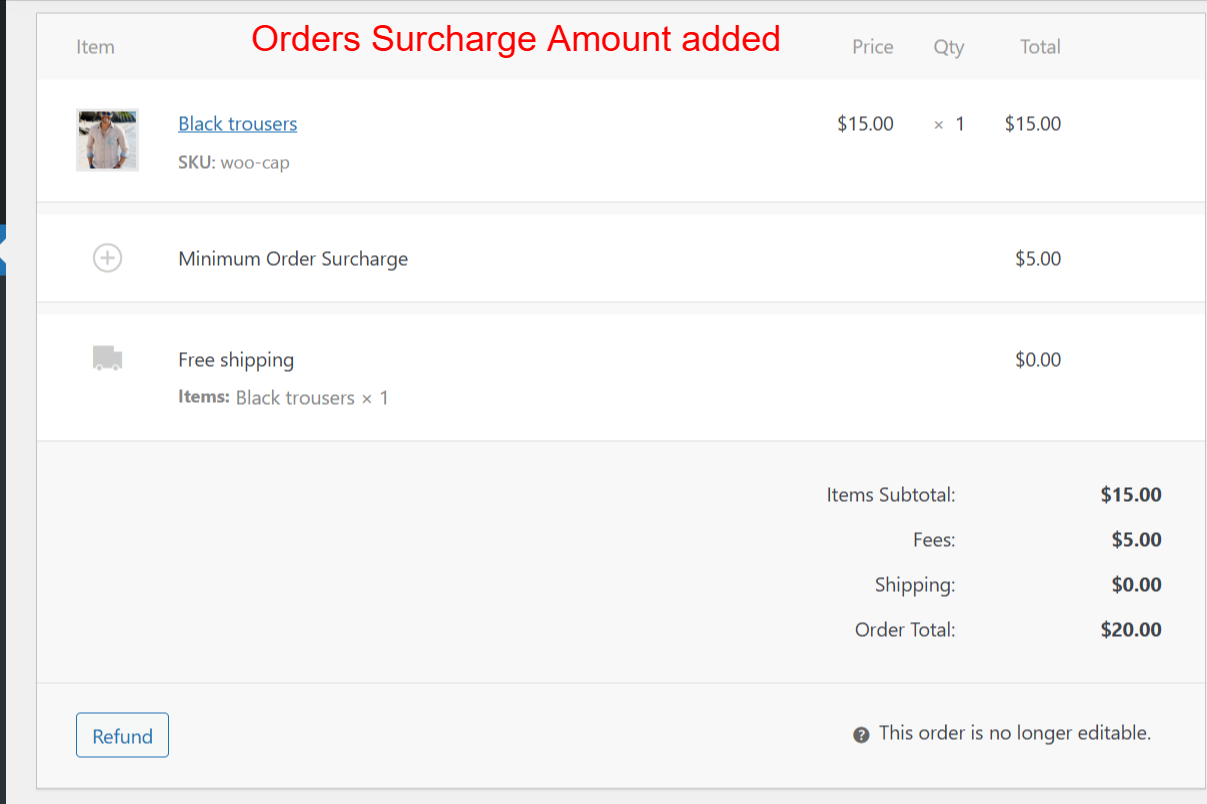
Order Details: Admin View of Surcharge
What this shows: An order details page in the admin panel showing line items, including the applied surcharge and overall fees breakdown.
In the WooCommerce admin panel, order details allow store admins to verify surcharges applied and adjust records as necessary. This back-end visibility is vital for maintaining order accuracy and ensuring correct charges are being applied according to the settings configured.
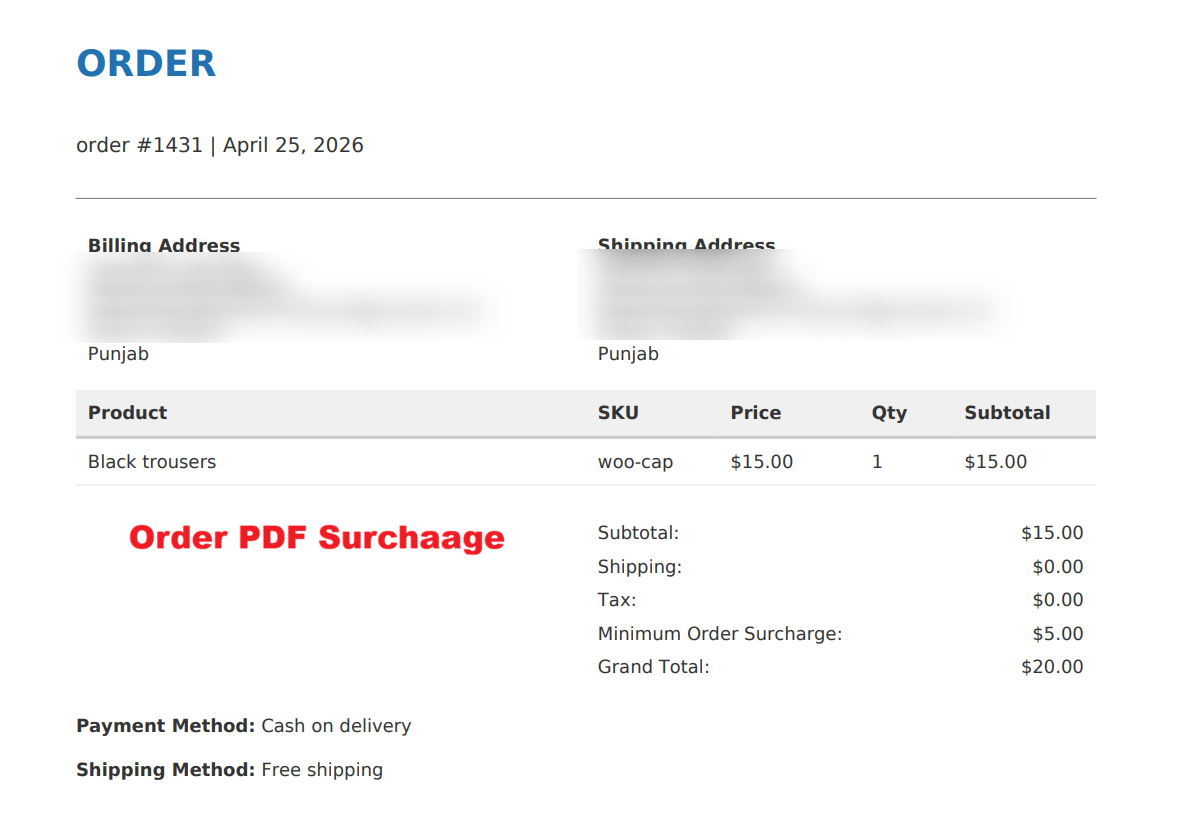
Order PDF: Comprehensive Order Record
What this shows: An order PDF that lists product, charges, and the surcharge amount, finalized with the grand total and payment method.
The Order PDF delineates every aspect of a customer’s order, cementing the surcharge as part of the financial record. Customers and businesses alike benefit from this clarity and documentation, promoting accountability and transparency of ecommerce transactions.